
- Cut:Various
- When it's Done:74°C
We’ve all seen it happen at a backyard barbecue — charred chicken wings served with undercooked thighs. But once you master this simple sear-and-move method for barbecuing bone-in chicken pieces using Kingsford® Charcoal, you’ll never have to worry about serving dry or undercooked chicken again.

1Fire up the grill.
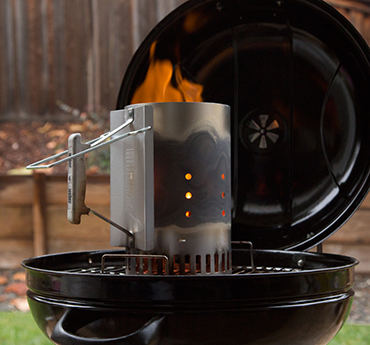
For barbecuing bone-in chicken pieces, you need a two-zone, medium-hot fire. Fire up a full chimney of Kingsford® Charcoal, or light a pile of about 100 briquets. When the coals are ready, arrange them in a two-zone fire. Replace the top grate and allow it to heat up with all vents fully open. Just before placing the chicken on the BBQ, dip a folded paper towel in cooking oil and oil the entire grate using long-handled tongs. This will prevent the chicken from sticking to the grate.-
2
Prep the chicken pieces.
To minimize flare-ups, trim any excess fat from the chicken pieces. If using a rub, sprinkle lightly over the chicken pieces. If possible, let the chicken sit covered in the refrigerator for an hour or two to allow the rub or marinade to penetrate the meat. 
3Sear the chicken.
Place the chicken pieces on the hot side of the grate, directly above the coals, starting with the largest dark-meat pieces first in the center of the coals. Sear all the chicken pieces for about two to three minutes per side, turning only once, until golden brown, making sure to not let the skin char. For leg pieces, give them a quarter turn every 90 seconds. If the BBQ flares up, temporarily move the chicken away from the coals.-
4
Finish on the “warm side.”
When all the pieces are properly browned, move them to the warm side of the grate. Replace the lid and, if using a BBQ thermometer, bring the temperature up to 177°C. 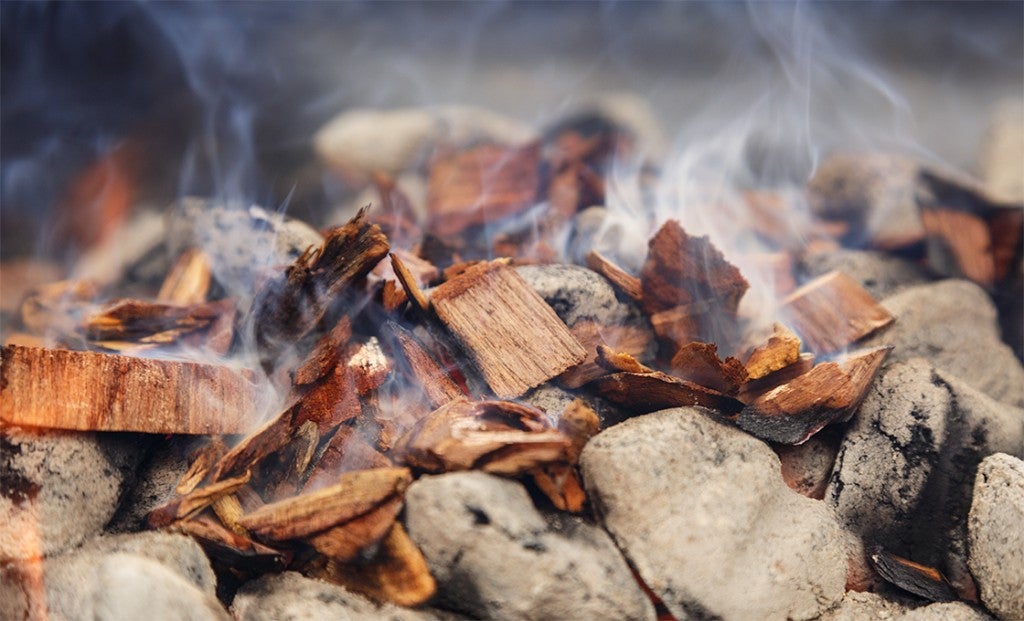
5Add a bit of smoke flavor.
A great option for chicken is adding a bit of smoke taste. If you like, add some soaked Kingsford® Wood Chips with Hickory or Mesquite at this stage._3_0172.jpg)
6Adding BBQ sauce or glaze (optional)
If you want to apply a sugar-based sauce or glaze to the chicken, do so in the last 10 minutes of cooking. Slather on a layer of sauce or glaze to one side of the chicken pieces, close the lid for five minutes to let the sauce bake on, then open the lid, turn the pieces, and repeat the process.-
7
Test for doneness.
There are two common of methods of testing bone-in chicken pieces for doneness: 1) The fastest and surest method is using a digital meat thermometer. Insert the tip into the thickest part of the meat, but not touching the bone. When the internal temperature reaches 74°C, remove chicken from the BBQ. 2) Cut into the meat and take a look — the meat should be white, without a rubbery texture, and the juices should run clear. However, this method will release some juice. 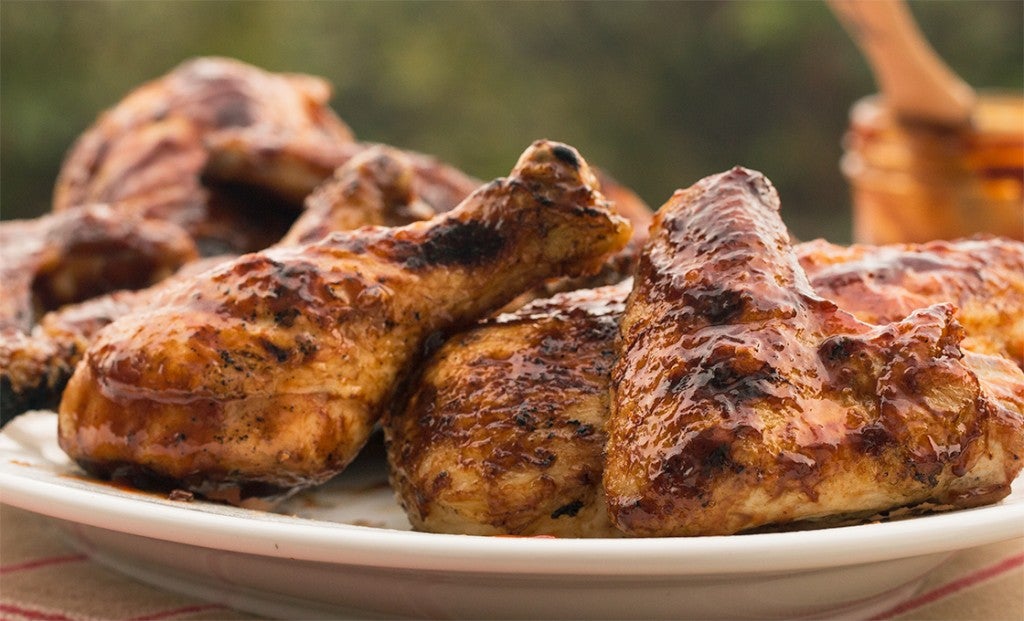
8Rest and serve.
If you are barbecuiing different chicken pieces — such as a mix of breasts, thighs and drumsticks — they will be ready at different times, because dark meat contains more fat and moisture than white meat. Do not overcook smaller or white-meat pieces while waiting for the larger or dark meats to finish. When done cooking, loosely cover chicken with foil and allow to “rest” for five minutes to allow the juices to settle back into the meat. After cooking chicken pieces on the BBQ, keep them warm at 60°C or hotter until served.


A fast and easy weeknight treat starts with Kingsford® Match Light® Charcoal.
See details
“Rubinade”—Place the chicken pieces in a plastic bag or pan and cover them with Italian salad dressing, then let sit in the refrigerator for several hours. Remove the chicken from the fridge and sprinkle with rub. The oil from the dressing will help the rub stick, and the salad dressing doubles as a quick and easy marinade.

Chicken skin is a good protector, and unfortunately keeps flavors from reaching the meat. Place garlic, herbs, and/or spices under the chicken skin to produce more flavor. Plus, the skin will sear up nicely on the outside and the herbs will not burn.